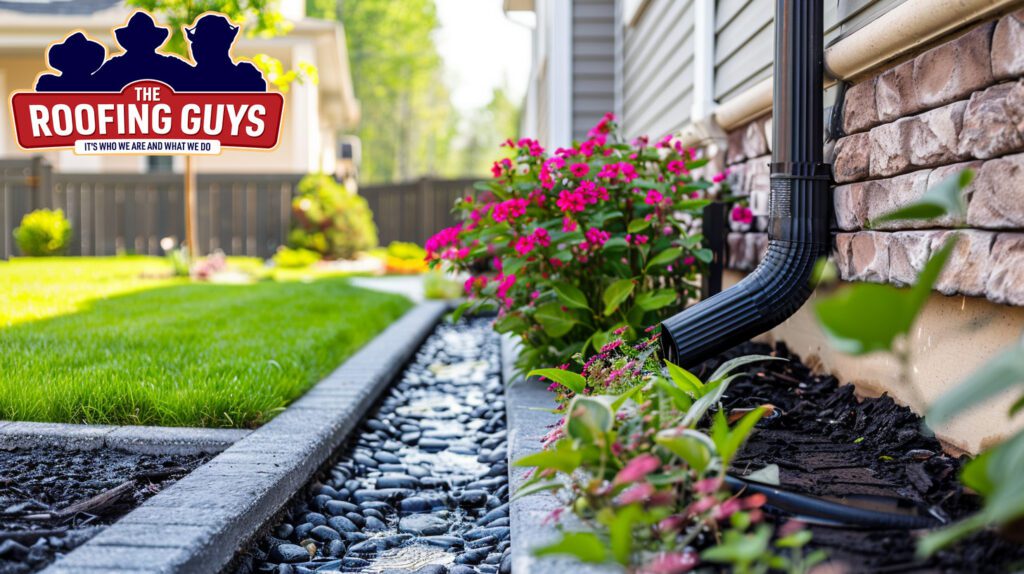
Ensuring your home is well-equipped to manage rainwater efficiently is crucial for maintaining its structural integrity. A critical component of your home’s rainwater management system is the downspout. Proper downspout installation plays a pivotal role in directing water away from your home’s foundation, thus preventing a myriad of potential issues. This detailed guide aims to navigate you through the process of installing a downspout, ensuring optimal functionality of your gutter system.
The Significance of Proper Water Diversion
The foundation of your home is, quite literally, the base upon which your property stands. Ensuring its protection is essential. Effective water diversion through downspouts prevents:
- Foundation Damage: Avoids weakening and shifting of the foundation due to water accumulation.
- Basement Flooding: Prevents water ingress that can damage interiors and promote mold growth.
- Soil Erosion: Protects the landscaping around your home and maintains soil integrity.
- Pest Infestations: Deters water-loving pests that can damage your property.
With the foundation’s crucial role in mind, let’s delve into the specifics of downspout installation.
Preparing for Installation: Tools and Materials
Before beginning, ensure you have the necessary tools and materials:
Tools
- Measuring Tape
- Hacksaw or Reciprocating Saw
- Screwdriver
- Level
- Marker or Chalk
- Drill with appropriate bits
Materials
- Downspout segments
- Downspout brackets
- Straps for securing
- Elbows and extensions (as needed)
- Screws and anchors
- Splash block (optional)
Installation Process
1. Measure and Mark
Determine the path from the gutter outlet to where you wish the water to be directed. Use the measuring tape and marker to mark this path on your property’s exterior wall.
2. Cutting the Downspout
With the measurements in hand, cut the downspout to length, ensuring a slight downward angle towards the drainage area to facilitate proper water flow.
3. Bracket Attachment
Securely fasten the downspout bracket at the top of the marked path, near the gutter outlet. Use screws and anchors for a firm hold. Repeat with additional brackets spaced evenly down the length of the path.
4. Elbows and Extensions
Attach elbows at the top and bottom of the downspout as necessary to guide the water away from the foundation. Extensions can be added to further direct the flow to a suitable drainage area.
5. Secure the Downspout
Utilize straps to anchor the downspout firmly against the brackets. Ensure it’s stable and aligned properly to prevent any misdirection of water flow.
6. Testing
To verify correct installation, pour water into the gutter and observe its flow through the downspout. Check for leaks or pooling, making adjustments as necessary.
7. Splash Block Placement
Consider installing a splash block at the downspout’s exit to disperse water away from the foundation and prevent erosion.
Maintenance: Ensuring Longevity
Regular maintenance is key to the downspout’s effectiveness. Inspect periodically for clogs or damage, especially after severe weather. Keep the gutters clear to prevent overflow and ensure smooth water passage through the downspout.
Conclusion
Proper downspout installation is integral to safeguarding your home’s foundation and preventing water damage. By following these steps, homeowners can ensure efficient water diversion away from their property. For those in Tulsa seeking expert assistance, The Roofing Guys offer professional services to ensure your gutter system operates flawlessly, protecting your home from the challenges posed by rainwater.

Recent Comments